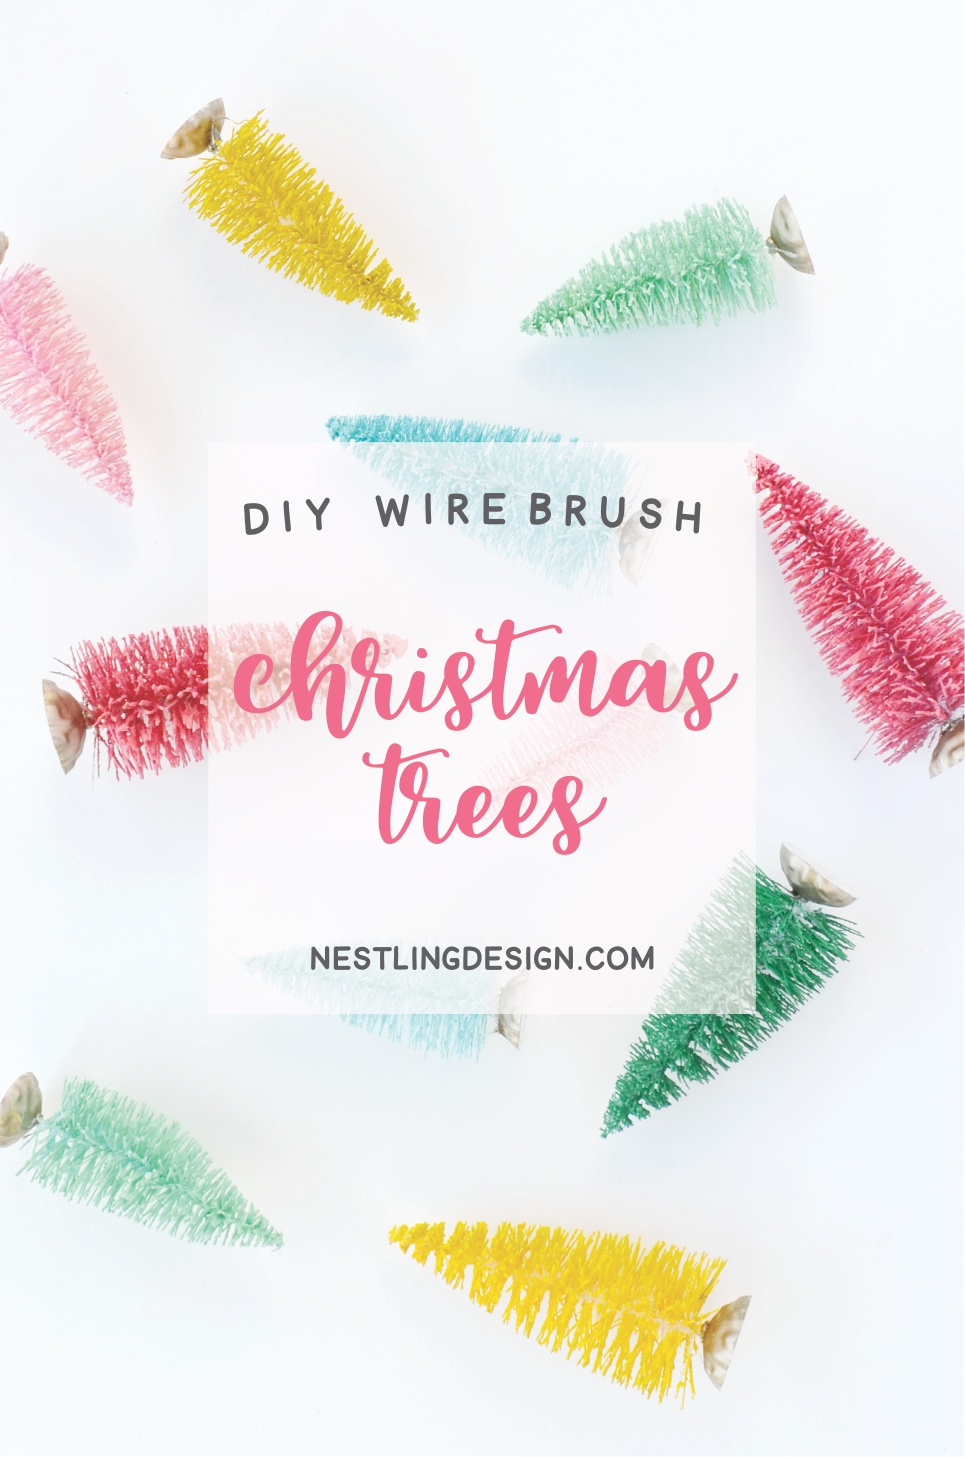
This was such a super fun and easy DIY. I originally wanted to make them because I was having a hard time finding inexpensive trees in the colors I wanted for a party we were staging, but ended up loving how they turned out so much that I painted some in each of our branding colors! You could easily paint them in neon colors, muted colors, pastel, etc. You can literally paint them in any color to match anything you want - all for super cheap!
SUPPLIES NEEDED:
Brush Pipe Trees (preferably white). The best place I found white trees were from the Dollar Tree. I found some from Walmart, but the ones from Dollar Tree were actually cheaper (because they came in packs of 2), better quality, and had two different sizes.
Acrylic Paint. You can easily find this at a craft store. Spray paint would work as well, but you will be more limited in your color choices.
Paint Brush. Fair warning - this project will take a toll on the paint brush, so do not use an expensive one.
Step One: Holding the tree by the base, paint the tree in the color you want. You really want to dab it on, making sure to get that inner trunk painted so it’s not still a bright white. I had to really push our brush in. While it’s still wet you can line the edges in fake snow or glitter if you like (we opted to leave ours plain). You don’t have to paint it one color - ombre would look amazing!
Step Two: After the trees are dried you can paint the bases if you like. I choose to paint ours in a metallic gold.
That’s it! I used ours to stage with our gingerbread village and to use as decoration in our office. I am obsessed with how they came out.
I mostly painted ours to match our branding (can you see how great they look with this site?! haha), but I really kind of want to try a neon one, too. If you try this out tag us on instagram @nestlingdesign - I’d love to see how they turn out!
xo - Rachel


